
Unlike in the last contributions from me, I will now write a product review on the Raspberry Pi camera night vision infrared camera module 5MP OV5647 as part of a new category. For this purpose, the contribution should be divided into the following underneath:
- What is the product?
- How does the product get to you?
- How must it be assembled?
- What else do you need to know about the product?
- Conclusion

The hardware
|
POS |
Number |
Component |
link |
|
1 |
1 |
Raspberry Pi camera night vision infrared camera module |
Table 1: Hardware parts for this review
What is the product?
As the name suggests, the Raspberry Pi camera night vision is an infrared camera module, a camera for the Raspberry PI. This can be connected to the camera port on the Raspberry Pi, see Image 1.

Image 1: The camera connected to the Raspberry Pi
Unlike similar products, it is a pure night vision infrared camera and not a switchable camera. The advantage is that the Raspberry Pi camera Night vision Infrared camera module does not use mechanical parts for switching. However, the camera must be equipped with appropriate IR diodes, but more on that below.
With the 5MP from the camera, there are razor-sharp pictures at night, which can then be processed or used with image algorithms for projects. No matter what, the quality should be sufficient for home hobbyist projects.
How does the product get to you?
As they are from AZ-Delivery are used to, the product arrives well-protected by you. The individual parts, see Image 2 are partially packaged in bags or wrapped well in upholstery film. Everything is sent in the typical packaging.

Image 2: The individual parts of the module
The following parts are located in the package of this camera:
- The night vision camera with a protective cap for the lens
- Flat tape cable for connection to the PI
- 2 IR diodes
- Screws and nuts for attaching the IR diodes
The good thing is that the camera lens is protected by a black cap during transport. This can also be put back on the lens if non-use so that it does not damage it.
How must the product be assembled?
Suitable tools, such as small screwdrivers, wrenches, or pliers, are recommended for assembling. The two IR diodes are mounted on the left and right of the camera, although you do not have to pay attention to the correct connection, see Image 3. For assembly, a screwdriver and, if necessary, a socket key are sufficient. The mother can also simply be recorded with her fingers.
Unless you accidentally want to install an IR diode in the wrong direction, you do not have to worry about the wrong power supply. However, keep in mind that the two holes for the screws are also the connections for plus and minus.

Image 3: The assembled camera
You have to be a little careful with the fluff tape connection, as this connection is happy to break. But this is not a problem with sensitivity. You can put the cable up with the blue color, see Image 3, into the open connection and fix the cable by closing the gray lever lock.
What else do you need to know about the product?
So that you can use the camera on the Raspberry Pi, you can not use the 64Bit Raspberry Pi OS (as of March 2022). The standard commands for the camera are missing here, e.g. raspistill and Raspividto take pictures or videos. So if you want to use the 64-bit operating system for your project, this will unfortunately be the first damper. You can find more information about this here or here.
It is important to mention again at this point that when connecting the camera to the PI, it should be made by the PI since the camera is not plug-and-play capable.
The camera must be activated in Raspberry Pi OS in the Raspiconfig and the Raspi then restarted. With the command raspistill you can record a test picture in the terminal. The command Raspivid -T 5000 Switches on the camera's live image for 5 seconds. If something was not correctly connected, an error message will be issued.
You can find detailed instructions for using the camera on the Raspberrypi.org project page.
I also took a recording with the camera, see Image 4, as a motif, an unused Raspberry Pi 4 served here.
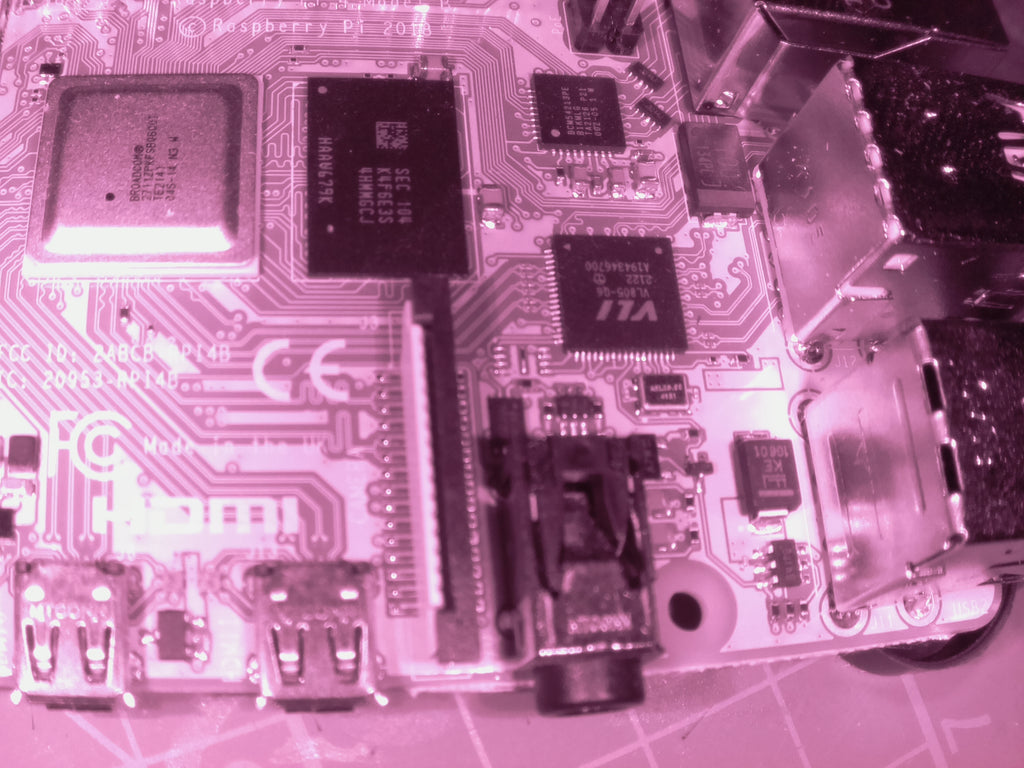
Image 4: Image of another Raspberry Pi 4
The red coloring that is normal for a night vision camera is striking.
During my entire tests, I noticed that there is apparently no simple housing for this camera, such as the Standard Raspberry Pi Cam. It bothered me a little for the first moment because I first took pictures on the desk of a simple bracket. For a long period of time, you have to consider how to attach the camera.
The easiest way here would be the handle to a 3D modeling tool and a 3D printer to print the right housing. But there are also pages that offer housing. In theory, you can simply replace the four screws with longer ones and attach the camera to a kind of base.
Exactly at that point, I noticed another point at the camera. The back of the IR diodes in particular are very warm for a long time, which is why I burned myself minimally. It quickly became clear to me why two passive cooling rib coolers were also included for the Raspberry Pi night vision. At this point you shouldn't understand that, the back is not so warm that the paper starts to burn, but it is still uncomfortable if you want to do something with the camera and then start the fingertips.
Conclusion
Compared to the first Raspberry Pi camera that I still have somewhere in my office, this camera is a different house number in terms of image quality and processing. With 1080p for video recordings and the 5-megapixel sensor, there are definitely some projects that can be implemented with it. Here is installed objectively with an adjustable focal length of 3.6mm and a recording angle of 60 degrees. This should make such a small house or terrarium monitoring possible. The latter even floats to me as a project, which I will publish here as a small blog at a given time.
So who is this camera module intended for? First and foremost, for everyone who wants to implement a project with a camera, especially a focus on the night. With the unbeatable price of just 21 euros (as of March 2022), you cannot make anything wrong. I saw comparable cameras for significantly more, although I can hardly judge the quality of the cameras here.
First of all, I will continue to deal with the camera and make optimizations to the image recordings.


3 comments
hrrad
Hallo,
sehr interessantes Produkt, aber wie hoch ist denn die Leistung
der IR-Dioden?
Andreas Wolter
@Rolf Steinecke: wir haben solch ein Projekt noch nicht umgesetzt. Ich habe mich daher kurz auf die Suche ins Netz begeben und einige solcher Projekte gefunden. Es sollte funktionieren.
Achten Sie bei der Kamera darauf, dass die Rückseiten der IR-LEDs sehr heiß werden. Ich habe dafür kleine Kühlkörper aufgeklept.
Grüße,
Andreas Wolter
AZ-Delivery Blog
Rolf Steinecke
Ist die Kamera geeignet um Innenaufnahmen von einem Nistkasten zu machen?